- Empty cart.
- Continue Shopping
At Kinnabis, we’re excited to share our Northern Lights strain grow info for beginners. This iconic indica has captivated cannabis enthusiasts for decades with its relaxing effects and ease of cultivation.
Whether you’re a first-time grower or looking to expand your garden, Northern Lights is an excellent choice. In this guide, we’ll walk you through the essentials of growing this legendary strain, from setup to harvest.
What Makes Northern Lights Special?
Origin and Genetics
Northern Lights stands as a legendary cannabis strain that has profoundly influenced the industry. This indica-dominant hybrid is believed to be a result of combining indigenous Afghani landrace strains with Thai and/or Jamaican varieties. Sensi Seeds in Amsterdam played a pivotal role in popularizing and stabilizing this strain, solidifying its place in cannabis history.
Potent Effects
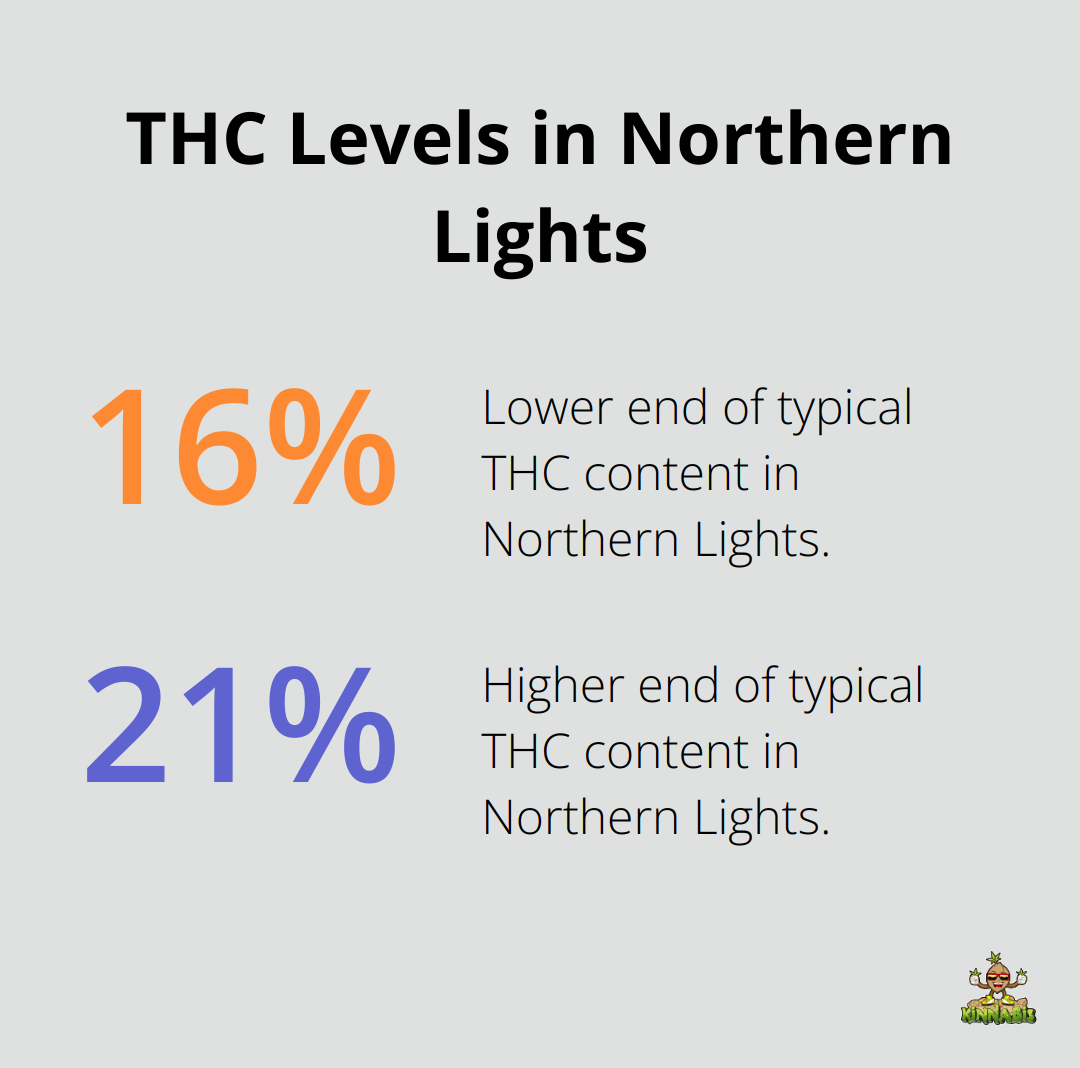
Northern Lights boasts impressive THC levels (typically ranging from 16% to 21% or even higher, depending on the specific phenotype and growing conditions), which translate into a powerful, heavy-hitting high. Users often experience a soothing body high coupled with euphoria, making it an ideal choice for evening relaxation. This potency has cemented Northern Lights’ reputation as a go-to strain for those seeking deep, restorative effects.
Medical Benefits
The strain’s potent properties have made it a favorite among medical cannabis users. Many turn to Northern Lights to address chronic pain, muscle spasms, and insomnia. Its calming effects also benefit those dealing with anxiety or depression symptoms. (It’s important to note that individual experiences may vary, and consultation with a healthcare professional is always recommended before using cannabis for medical purposes.)
Unique Aroma and Flavor Profile
One of Northern Lights’ most distinguishing features is its aroma profile. The strain offers a sweet, earthy scent with distinct notes of pine and spice. This aromatic combination not only makes it easily identifiable but also enhances its overall appeal. When consumed, users can expect a smooth smoke with a flavor that mirrors its scent-a blend of earth and sweetness with a hint of pine.
Grower-Friendly Characteristics
For cultivators, Northern Lights presents numerous advantages. Its compact, bushy structure makes it ideal for indoor cultivation, especially in limited spaces. The strain’s resilience to common pests and diseases reduces the risk of crop loss, particularly beneficial for novice growers. With a relatively short flowering time of 6-7 weeks, Northern Lights allows for multiple harvest cycles each year, maximizing productivity for home growers.
Northern Lights’ ability to thrive in various growing conditions, combined with its potent effects and distinctive aroma, has established it as a cornerstone strain in the cannabis world. As we move forward, let’s explore how to set up the optimal growing environment for this remarkable strain, ensuring you can harness its full potential in your own garden.
Setting Up Your Northern Lights Grow Space
Indoor vs Outdoor: The Right Choice
Indoor-grown cannabis generally produces tighter, prettier, and more potent buds, but outdoor-grown cannabis often has denser, richer flavors enhanced by nature. Indoor growing provides complete control over environmental factors, which is essential for Northern Lights’ success. Outdoor cultivation exposes plants to weather fluctuations and potential pests, which can compromise your yield.
Indoor growing also allows for year-round cultivation. With Northern Lights’ short 6-7 week flowering period, you could potentially harvest up to 4-5 times a year. This gives a significant advantage over outdoor growing, which typically allows only one harvest per year in most climates.
Essential Equipment for Indoor Setup
To start, you need some basic equipment. A grow tent is your best option – it’s affordable, easy to set up, and helps maintain optimal conditions. For Northern Lights, a 2×2 foot tent suffices for 1-2 plants, while a 4×4 foot tent can house 4-6 plants comfortably.
Lighting plays a vital role. For Northern Lights, High-Pressure Sodium (HPS) lights work well. 400W and 600W bulbs are the most suitable for indoor cannabis cultivation. These lights need to be hung level, and the optimal light height (OLH) is crucial for effective growth.
Ventilation is equally important. A good exhaust fan and carbon filter combo will keep air circulating and temperatures stable. For a 4×4 foot tent, try a fan with at least 200 CFM (Cubic Feet per Minute) capacity.
Creating the Perfect Environment
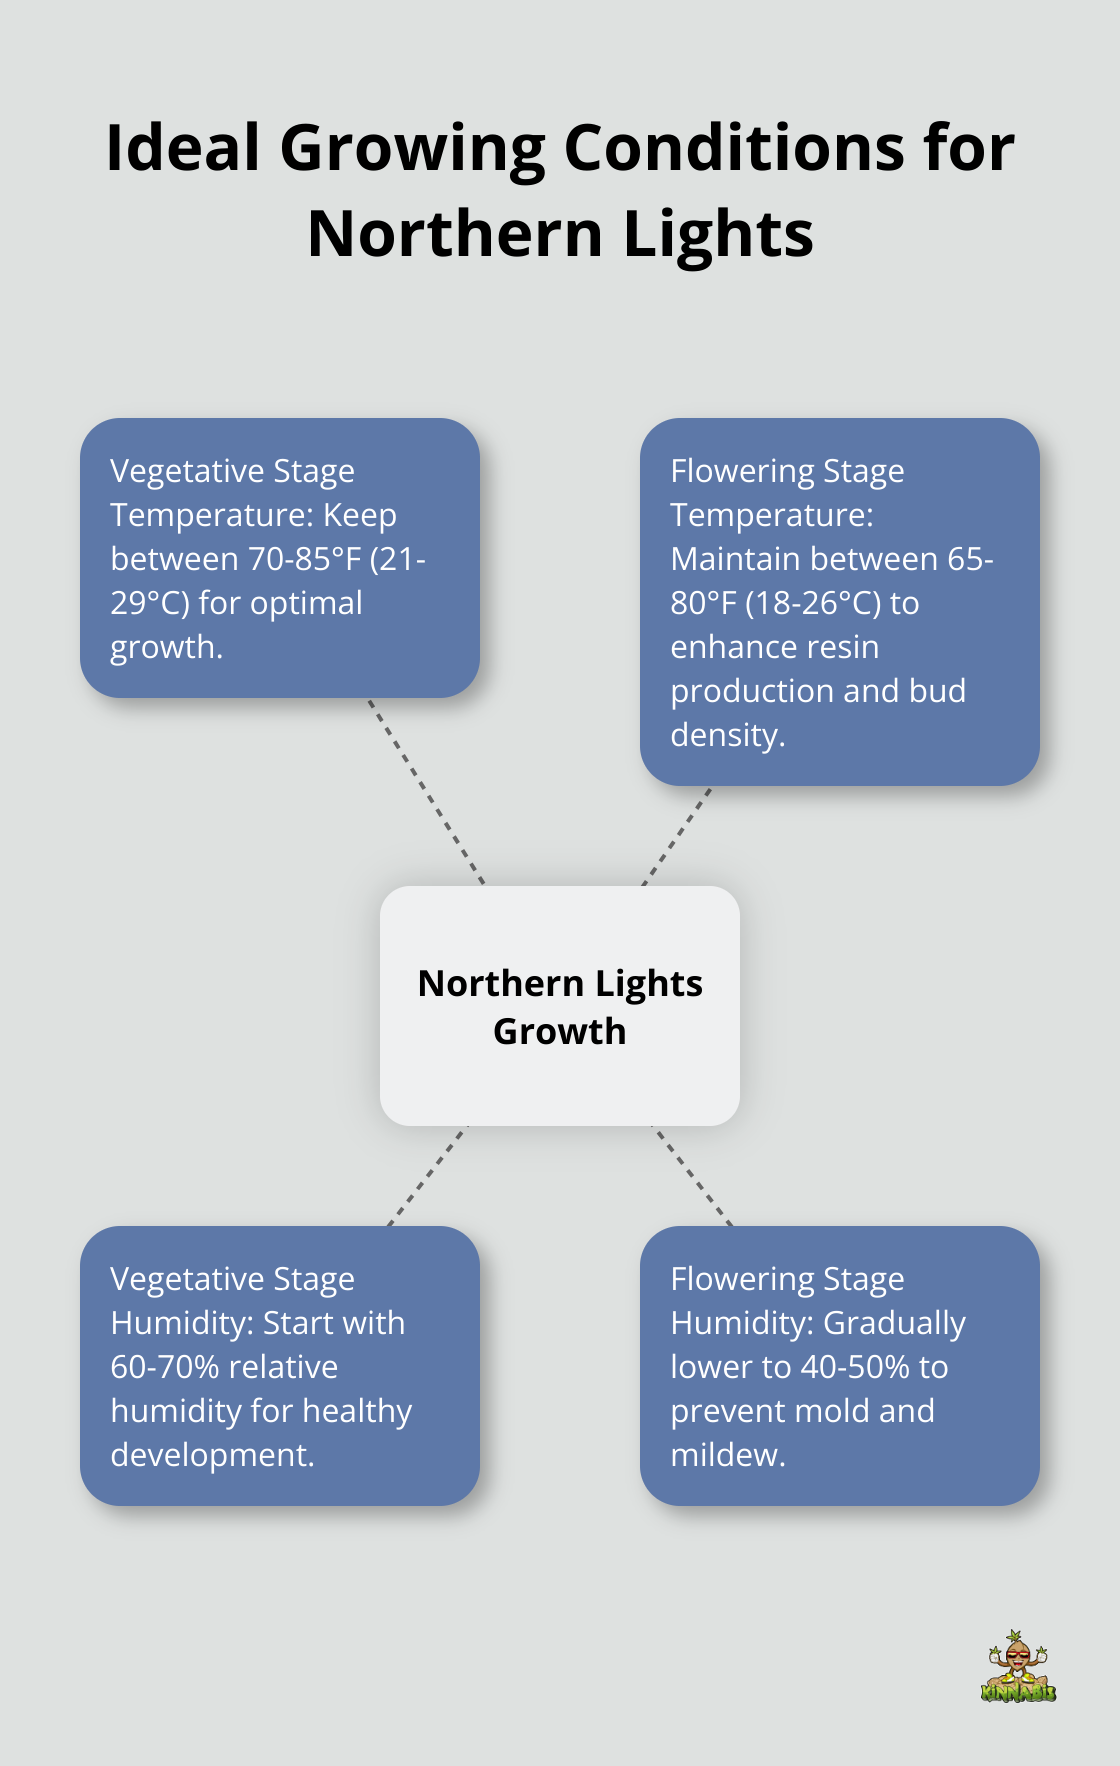
Northern Lights thrives in specific conditions. During the vegetative stage, keep temperatures between 70-85°F (21-29°C). In flowering, slightly lower temperatures to 65-80°F (18-26°C) can enhance resin production and bud density.
Humidity also matters. Start with 60-70% relative humidity during vegetation, gradually lowering it to 40-50% as you enter the flowering stage. This reduction helps prevent mold and mildew, which Northern Lights can be susceptible to due to its dense bud structure.
pH levels are often overlooked but are essential for nutrient uptake. For soil grows, maintain a pH between 6.0-7.0. If you’re using a hydroponic system, try a slightly lower range of 5.5-6.5.
Air Circulation
Don’t forget about air circulation. A couple of small oscillating fans in your tent will strengthen stems and reduce the risk of mold by keeping air moving around your plants.
These guidelines set the stage for a successful Northern Lights grow. Consistency is key. Regular monitoring and adjustments will ensure your plants have everything they need to produce those iconic, resin-coated buds that Northern Lights is famous for. In the next section, we’ll explore the Northern Lights growing process, from germination to harvest.
How to Grow Northern Lights from Seed to Harvest
Germination and Early Growth
Start the germination process for your Northern Lights seeds with the paper towel method. Place the seeds between damp paper towels on a plate and cover with another plate to create a dark, moist environment. Keep the temperature around 70-80°F (21-27°C). You should see taproots emerge within 24-72 hours.
Transfer the sprouted seeds to small pots when the taproots reach 1/4 to 1/2 inch long. Use a light, airy growing medium (a mix of 70% coco coir and 30% perlite works well for Northern Lights). Plant the seeds about 1/2 inch deep with the taproot pointing downward.
Maintain high humidity (around 70%) and temperatures between 70-75°F (21-24°C) for the first two weeks. Position a small CFL or LED light about 4-6 inches above the seedlings. Water sparingly to keep the soil moist but not waterlogged.
Vegetative Stage
Your Northern Lights plants will enter the vegetative stage after about two weeks. This stage requires adjustments to your care routine to accommodate rapid growth.
Increase light intensity and duration. A 400W metal halide (MH) lamp works well for this stage if you use HID lights. Keep lights on for 18-24 hours per day. Maintain temperatures between 70-85°F (21-29°C) and gradually lower humidity to around 50-60%.
Feed your plants with a balanced, nitrogen-rich nutrient solution. Start with 1/4 strength and increase to full strength over a few weeks. Monitor your plants for signs of nutrient burn or deficiencies and adjust as needed.
Northern Lights plants typically remain compact, but you can use training techniques like low-stress training (LST) or screen of green (ScrOG) to maximize space utilization and increase yield potential. Apply these techniques when the plant has developed 3-4 nodes.
Flowering and Harvest
Switch your light cycle to 12 hours on and 12 hours off after 4-6 weeks of vegetative growth to induce flowering. This change mimics the shorter days of late summer/early fall, signaling the plant to start producing buds.
Switch to a high-pressure sodium (HPS) bulb during flowering if you use HID lighting, as the red spectrum promotes better bud development. Adjust your nutrient regimen to a bloom formula with higher phosphorus and potassium levels. Lower humidity gradually to 40-50% to prevent mold issues as buds become denser.
Northern Lights typically flowers for 6-8 weeks. Begin flushing your plants with plain pH-balanced water in the final 2 weeks to improve the flavor of your final product.
Harvest when 70-80% of the pistils have turned amber and the trichomes are mostly cloudy with some amber ones (this usually occurs around week 8 of flowering). Cut the main stem and hang the whole plant upside down in a dark, cool room with 50% humidity for about 10 days to dry.
After drying, trim your buds and cure them in glass jars for at least two weeks. Open the jars daily for the first week to release excess moisture. This curing process enhances the flavor and potency of your Northern Lights harvest.
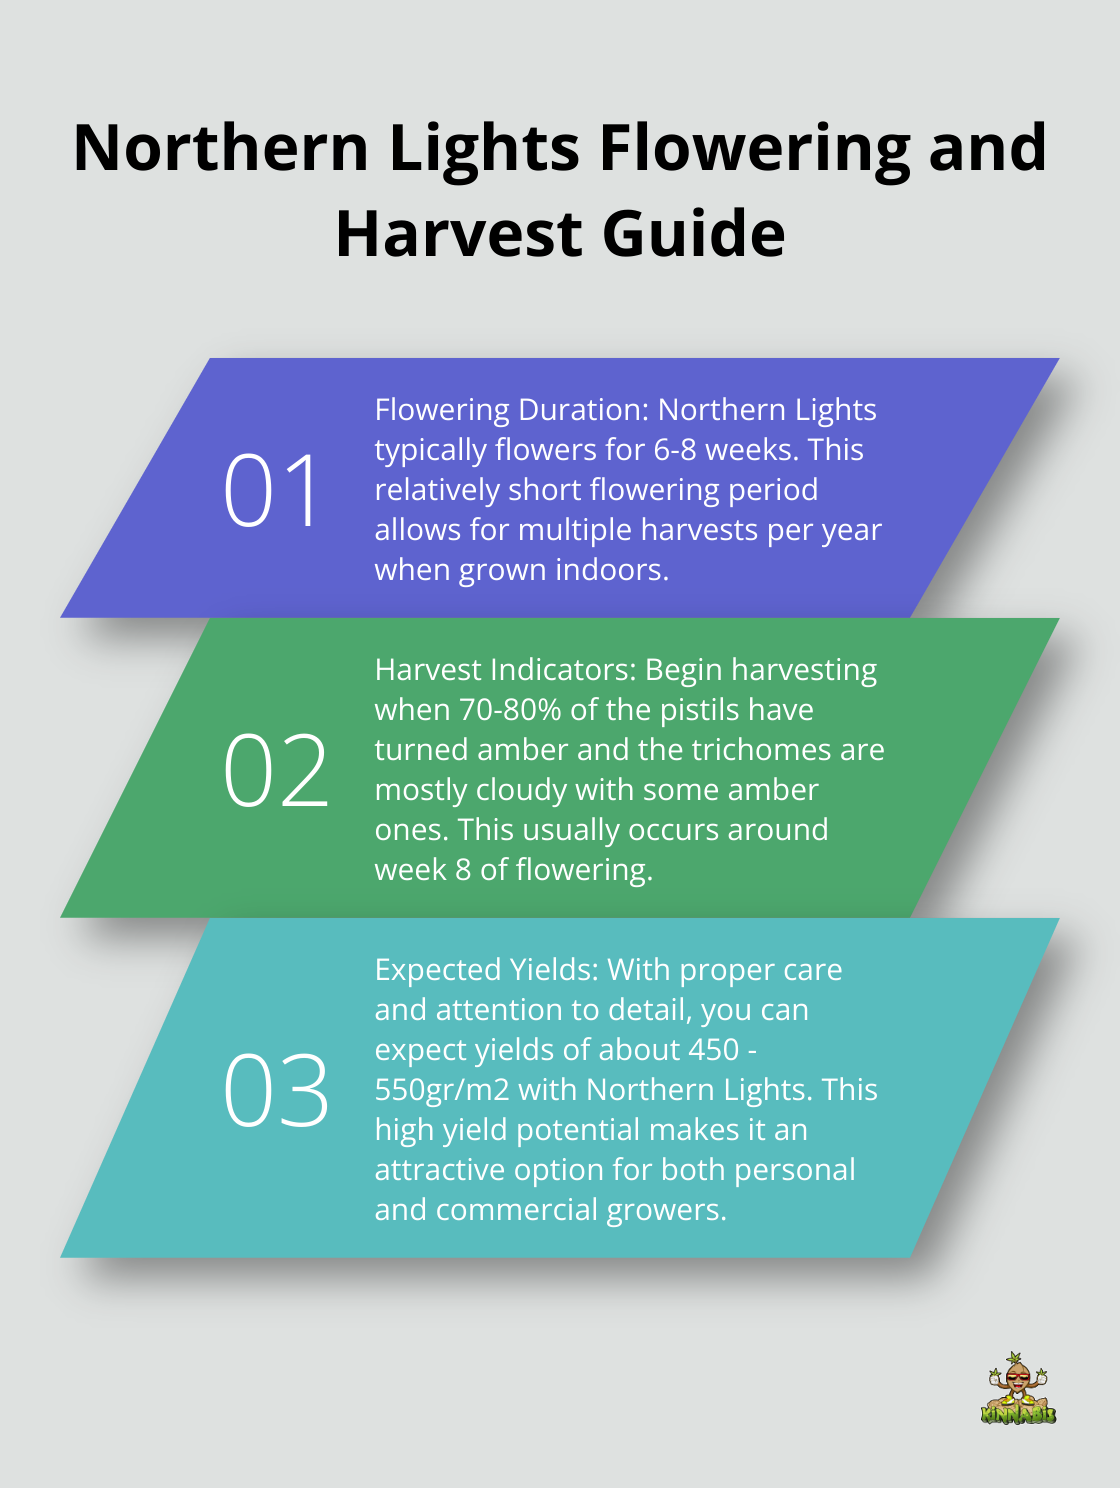
With proper care and attention to detail, you can expect yields of about 450 – 550gr/m2 with Northern Lights. The resulting buds will offer the classic, relaxing high that has made this strain a favorite among cannabis enthusiasts for decades.
Final Thoughts
Growing Northern Lights offers a rewarding experience for both novice and experienced cultivators. This iconic strain combines ease of cultivation with potent effects, making it an excellent choice for those who start their cannabis growing journey. We have covered essential Northern Lights strain grow info, from setting up your grow space to nurturing your plants through each growth stage.
The key to producing top-quality Northern Lights buds lies in patience and attention to detail. Take the time to properly dry and cure your harvest to enhance flavor and potency. This final step can make a significant difference in the overall quality of your product (and your enjoyment of it).
At Kinnabis, we want to help growers succeed with premium cannabis seeds. Our selection of Northern Lights seeds offers the genetic stability and quality needed for a successful grow. Whether you’re a first-time grower or an experienced cultivator looking to add this classic strain to your garden, we support your journey.